Customers
Customers are a core master data entity in Argus.
Customers can be created manually, imported via Excel, or integrated from an external customer register.
Each customer contains basic customer data fields. It is also possible to create custom fields on the customer card.
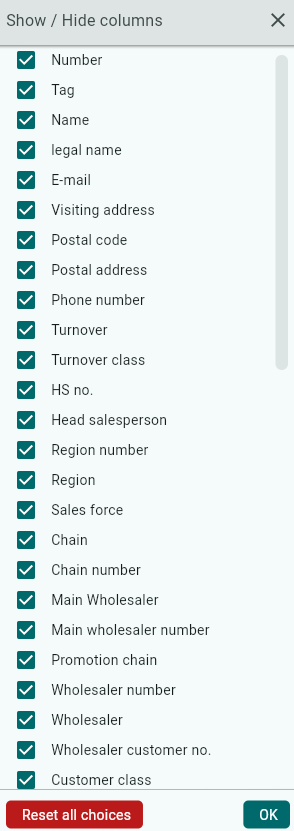
Since not all fields are always needed, you can show or hide fields using the field selector, so that only relevant fields are displayed.
The Customers function is accessed via Administration / Business Partners / Customers.
In the Customers view, you can see an overview of all customers and also add new customers.
Search Options
Inside Customers, you can filter your search by clicking the funnel icon.
Inactive customers, chain, and salesperson are some of the options you can search for.
Once you have selected the search parameters you want results for, click Search.

A list of current customers will now be displayed.
Under Free Text, you can quickly find specific customers in your search selection by typing what you want to see, for example, a city.

You can choose to group your search results by any column.
Click and drag the column you want to group by into the marked area and release it.

The search will then be displayed in a tree structure based on the columns you selected.
Click the arrow to expand the rows.
To remove the grouping, click once on the box or boxes next to Grouping, such as "Chain" and "HS Number" in the example below.

Click the Excel button if you want to export your search results to Excel. 
Through the Field Selector, you can easily hide fields you don’t want to see.

If you want to save your search parameters to use them again, you can save a variant.
Enter a name in the Variant field.
Click Save.
Save the variant only for yourself.
Save for all if you want all Back Office users to have access to it.
The next time you open Customers, your variant will appear in the list.

Map
You can get a quick overview of your stores by clicking Map on the right.
To display customers on the map, Longitude and Latitude must be entered for them.
By zooming in on the map, you can see a more detailed view and eventually reach each individual store.
From here, you can click on a store to open the customer card for a quick overview.
If you use a computer mouse with a scroll wheel, you can zoom in and out using the wheel.
If you use a laptop, zoom in and out by using your touchpad—spread two fingers apart to zoom in and move them together to zoom out.

Create a new customer
Click Create to add a new customer.

Use the suggested customer number or enter another if you prefer.
Enter the customer’s name.
Click Next.

Select which chain the customer should be linked to.
If the customer should be linked to a specific campaign chain, you can select it here.
Click Next.

Enter the customer’s visiting address and mailing address.
Click Create.

The customer card for the new customer will open.
Here you can enter additional information such as email, phone number, bank account, visit frequency, latitude, and longitude.
The new customer is automatically set as active.
You can navigate through the different tabs by clicking on them or scrolling down.
In the Wholesalers tab, you can manage which wholesalers should be linked to the customer.
Click Add to link a wholesaler.

Select the wholesaler you want to connect to the customer and click OK.

Enter the customer’s wholesaler customer number.
If it concerns a Coop store and orders should be sent via EDI, you must also enter the location code here.
If you have multiple wholesalers linked to the customer, you can choose the default wholesaler under the Default Wholesaler tab, which determines which one the salesperson sees first.

In the Other tab, you can enter, for example, the ERP customer number or external customer number.
You or the salesperson can specify the delivery days and visit days that apply to the customer.
You can define margins for the customer when creating custom proposals.
The customer can be linked to a unique price list.
You can check the box "Sales of unlisted articles allowed."
If you enable this and save, the function will be activated for the customer. To deactivate it, uncheck the box and save again.
Even without this option enabled, salespeople can still place orders for inactive articles if they choose to display inactive products in the order view through filtering.
Don’t forget to save.
You can enter Invoice Discount and Markup.
Note: Invoice Discount and Markup apply only to Foodservice.

In the Sales Force tab, you can manage which districts are linked to the customer.
Click the red button to expand the Customer Information box, making it easier to see the district names.
 Check the boxes "Included" and "Main Salesperson" for the salesperson responsible for the customer and budget.
If multiple salespeople should have access to the customer, only check "Included" for them.

Under Classification, you can enter Nielsen Area, Customer Class, Customer Type, and Organization Number.

Under Key Figures, you can enter annual turnover, number of employees, and raw variant.

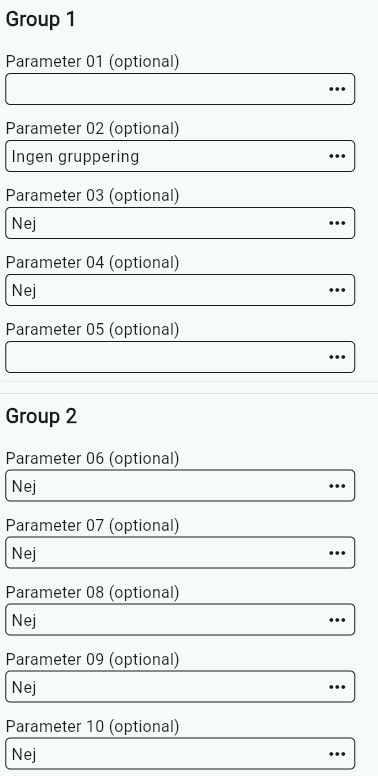
Groups 1–4 allow you to enter customer-specific values that the salespeople can later see and assign response options to.
To change or add options, go to Settings – Setup Parameters – Customer Card Parameter.
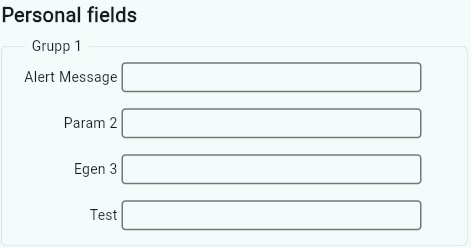
Under the Custom Fields tab, you can define custom fields together with Vitec Nordman.
Under the Notes tab, you can view notes added by the salesperson for the customer.

If you want to attach a document to the customer, click the plus sign.
Select the file you want to attach. 
Click on the uploaded document and choose which districts should be able to see it.
Click Save Changes.

Import Customers
If you want to import customers, you first need to export the customers to get the required template for import.
Inside Customers, click Export.

An Excel file will open where you can edit information for existing customers or add new ones.
It is important not to change the column headers in the file — the structure must remain the same for the import to work.

Once you’ve added information to your Excel file and saved it, click the Import button in Argus.
Select the file you want to import and click Open.

At the top right, you can see the import progress. On the left, you’ll see how many rows have been processed, and on the right, how many remain to be imported.

Was this article helpful?
That’s Great!
Thank you for your feedback
Sorry! We couldn't be helpful
Thank you for your feedback
Feedback sent
We appreciate your effort and will try to fix the article