Campaign/Tender is used to easily track a centrally agreed campaign.
The campaign is created at chain or wholesaler level and will automatically appear in the salesperson’s order view for the customers linked to the campaign.
Click Search to see a summary of your active campaigns.
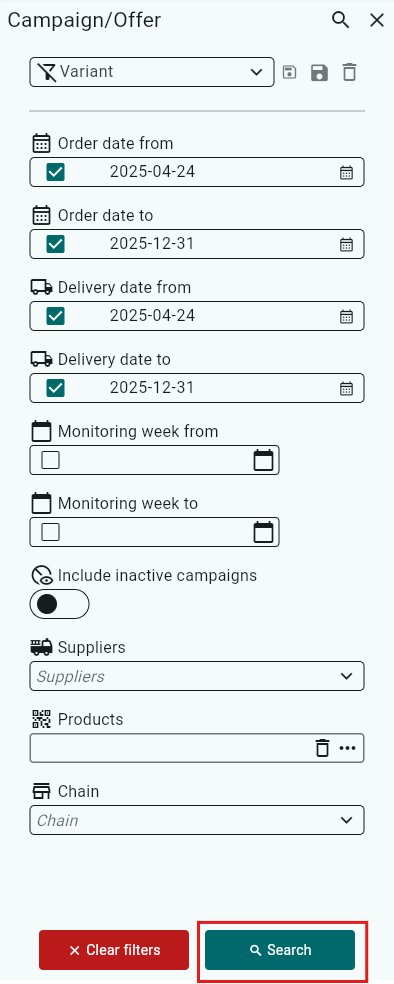
A red-marked campaign means the campaign has not been released.
A green-marked campaign means the campaign is active and today’s date is within the campaign period.
A purple-marked campaign means the campaign is active, but the end date has passed.

Create a new campaign
Click +Create in the top right corner.

Enter the information for your campaign in five steps.
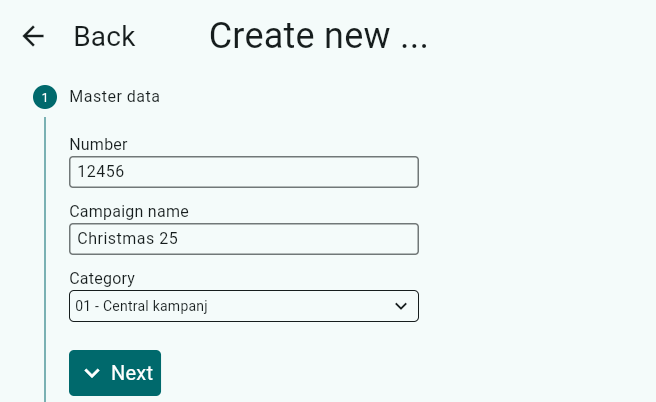
Step 1
Campaign number: Enter a campaign number, e.g. ICA132
Campaign name: The name of the campaign, e.g. Spring Campaign -24
Category: Click the dropdown arrow and select the campaign category, e.g. SA/VA
Click Next.
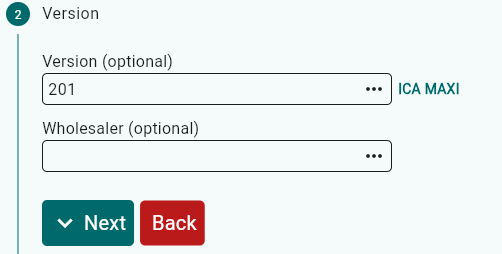
Step 2
Version/Chain: Select a chain for chain-controlled campaigns (if you have customer-specific product listings, you must select customers in Step 4 to get the correct assortment).
Wholesaler: Select a wholesaler for wholesaler-controlled campaigns (mainly used in Foodservice).
If you have neither a chain-controlled nor wholesaler-controlled campaign, click Next.
Step 3
Order dates: Select the date range for the campaign orders.
Delivery dates: Select the delivery date range for the campaign.
Follow-up week: Select the week when the campaign should appear in the campaign overview.
Click Next.

Step 4
If you selected a chain-controlled campaign in Step 2, the customers in that chain will be displayed here. Click Next.
If not, add customers by clicking the three dots.
Here you can select customers using preset filters, for example if the campaign should be linked to a campaign chain.
You can also filter by column names, such as customer card parameters, custom fields, etc.


Step 5
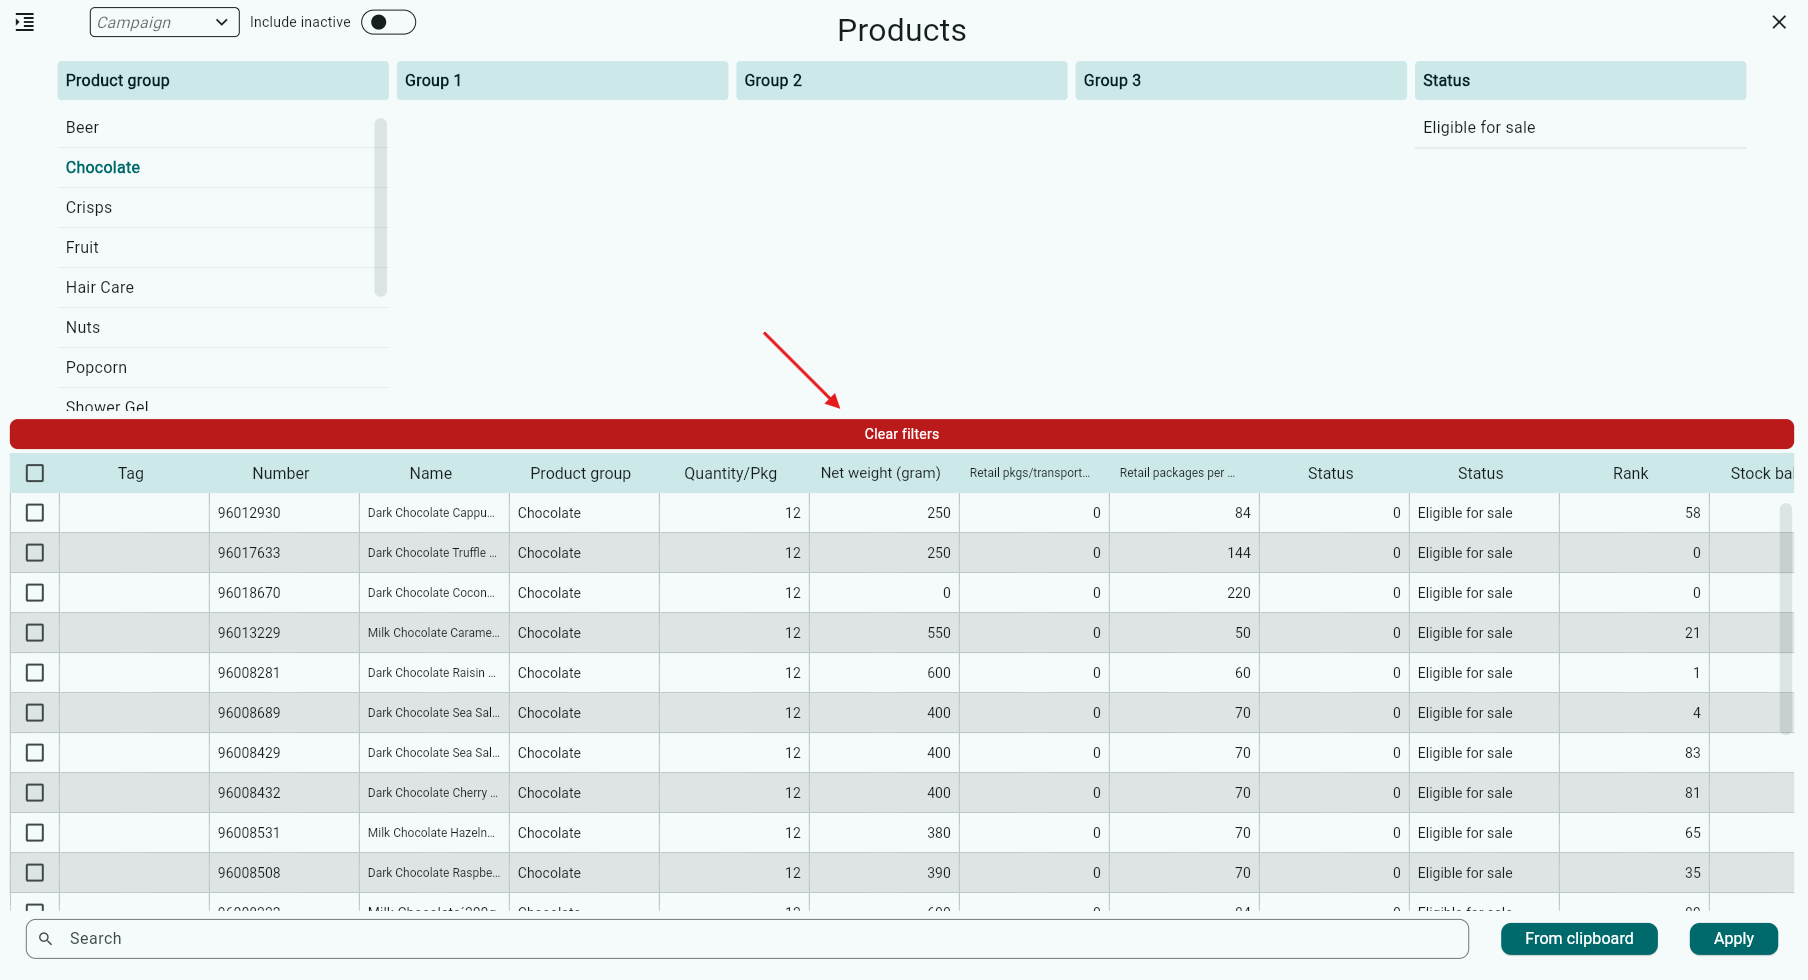
Add products to the campaign by clicking the three dots.
You can filter by Product Group, Group, Supplier and Status.
Select the product(s) that should be included in the campaign.
Click Apply.
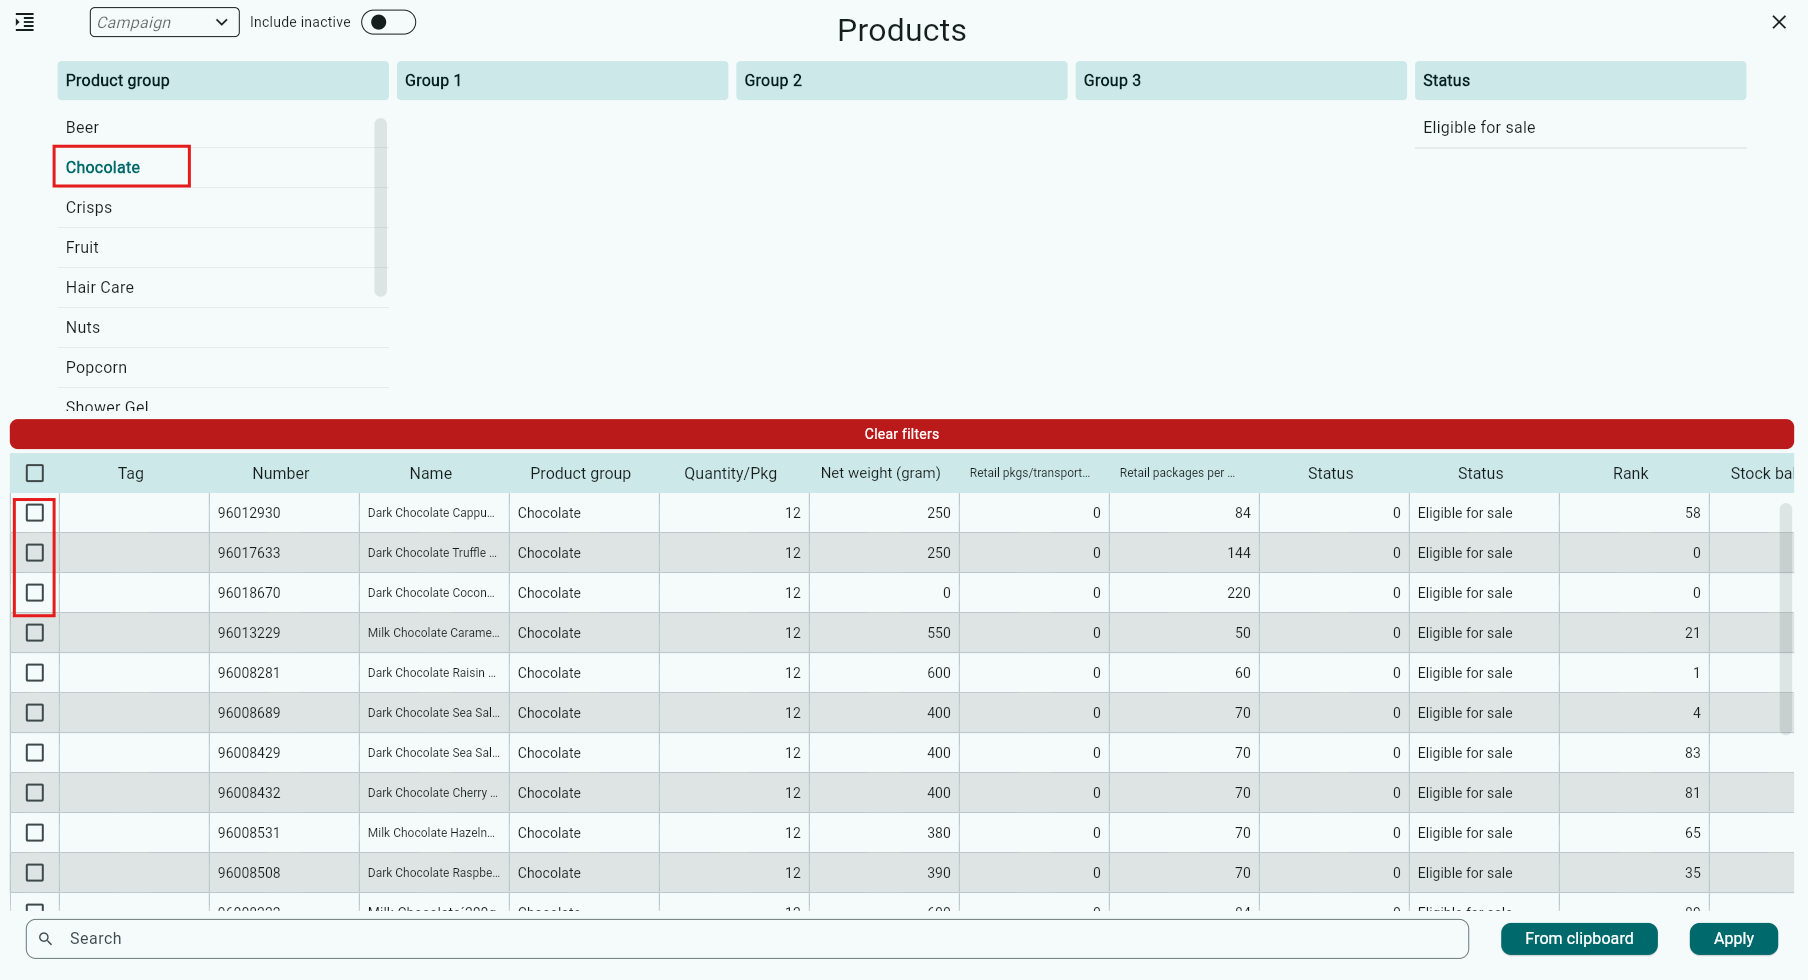
If you want to clear your filters, click Clear Filters
Finish by clicking the green +Create button.
Your newly created campaign will then appear in a new panel on the right, where you can enter more information.
Descriptions of some fields:
Description: Field for describing the campaign, e.g. 2 for 20:-
Comment: Used on iPad. Shown instead of Description if any notes have been added afterwards.
Priority: Used on iPad. Allows you to set a priority order for campaigns in the order view.
Consumer offers:

You can now enter the desired sales volume, discount, regular in/out prices for the selected product.
Before doing this, you can click the icon below to expand the panel.

You will now have a better overview and can more easily enter the budget.
Under Assortment, you enter e.g. the volume for the products, and under Budget you choose how you want to distribute it.
Tick or untick “Distribute according to turnover” and click Distribute.

To make the campaign visible to the salespeople, you need to release it.
Documents
Under the Documents tab, you can add a document belonging to the campaign.
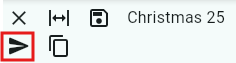
Click the + symbol.

Select the document you want to add and click Open.
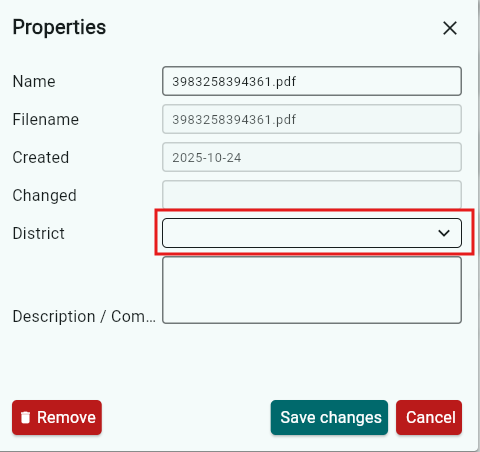
You also need to link districts to the files. Do this by clicking the file name.

Then select the district and click Save changes.
Deactivate campaign
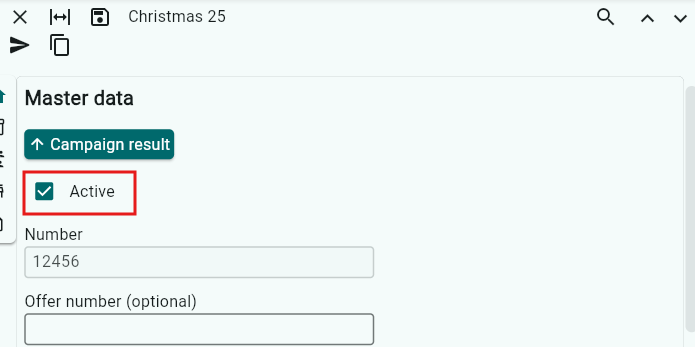
If you want to deactivate a campaign, untick the Active box.
A red-marked campaign means the campaign has not been released.
A green-marked campaign means the campaign is active and today’s date is within the campaign period.
A purple-marked campaign means the campaign is active, but the end date has passed.
Was this article helpful?
That’s Great!
Thank you for your feedback
Sorry! We couldn't be helpful
Thank you for your feedback
Feedback sent
We appreciate your effort and will try to fix the article