There are two ways to access Payments. One way is through the shortcut under Notifications.
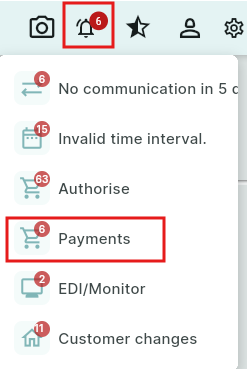
You can also access it via Administration → Payments.

All payments that have been authorised by an authorised Backoffice user appear under Paymants.
The columns include filtering options so you can easily see if, for example, a bank account number is missing.

To select which orders you want to create files for, check the box to the left of the supplier.
If you want to select all, check the same box in the menu bar. Once the orders are selected, click Forward selected orders.

If a bank account number is missing from an order, an error message will appear when you try to forward the order.

Note the customer number that is missing a bank account or postal account.
Go to the customer card, enter the correct number, and click Save.
Then return to the Bank Module and click the Reload Data button.

If the number is not updated, double-click the row and select the correct Bankgiro or Plusgiro.
Check the box “Change the account.no in all orders on the same customer”.
Click Save and Close.

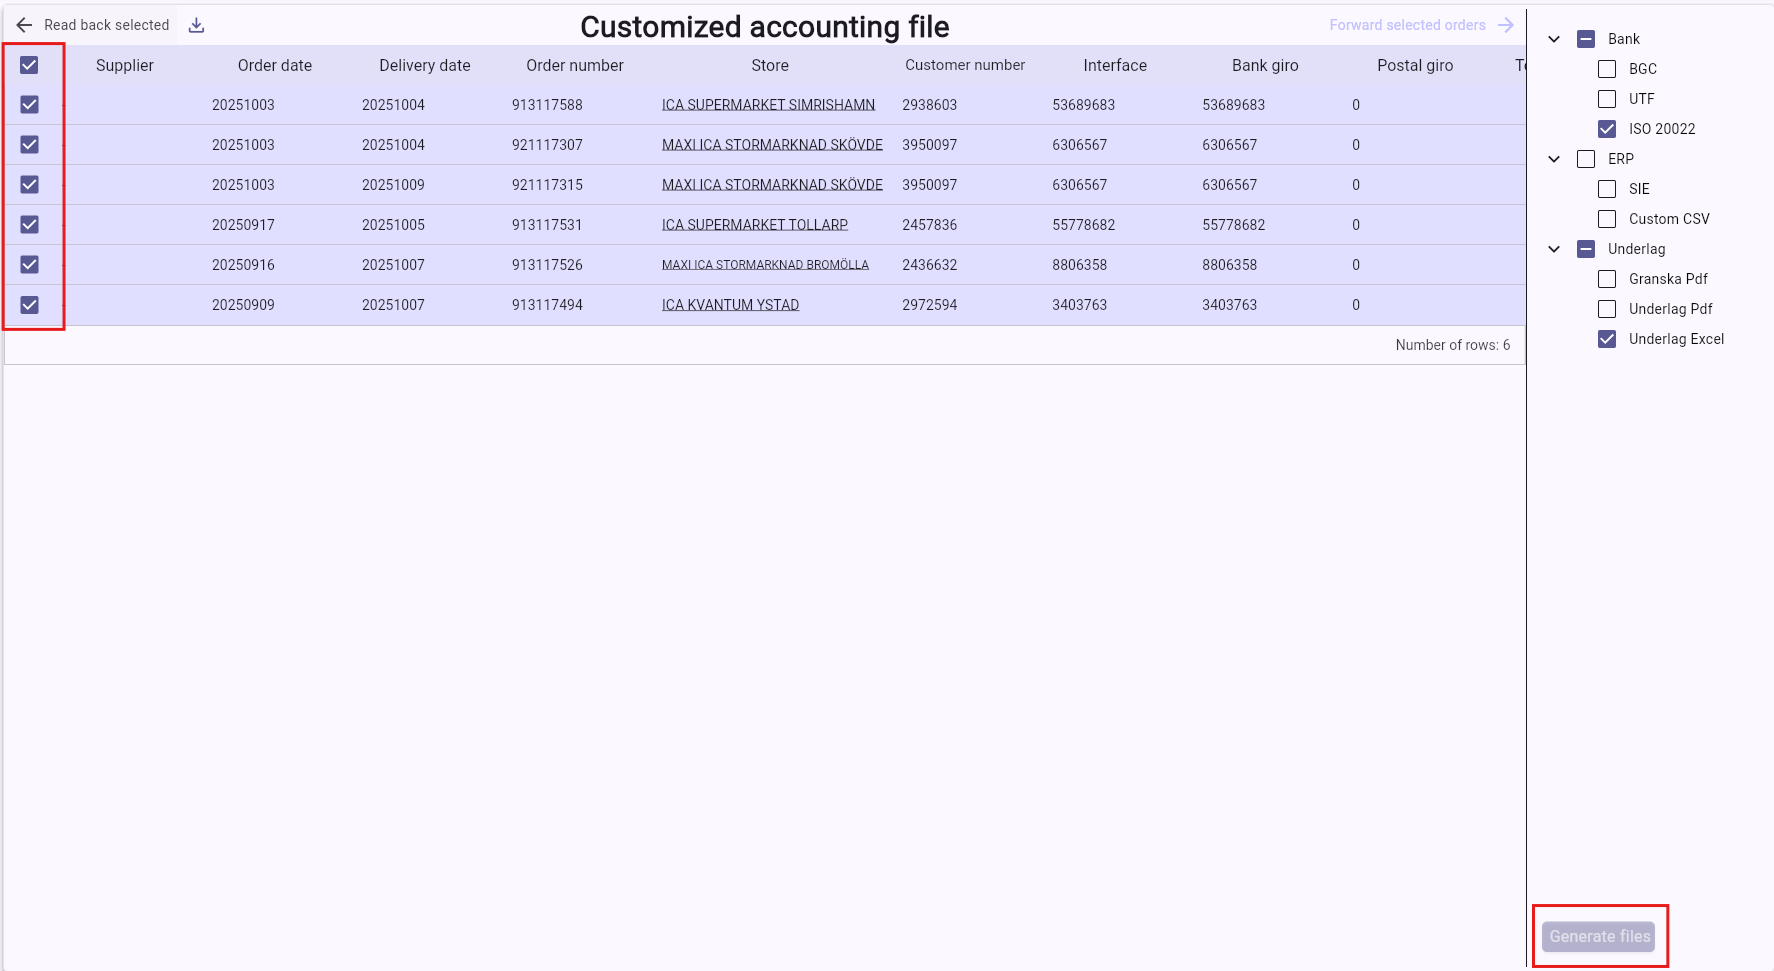
Once the orders have been forwarded, they appear under the Customized accounting file.
The file format you use is preselected.
Select all orders or the orders you want to create files for.
Click Generate Files.
When you click Generate Files, a Zip folder with your files will be created. It will appear in Downloaded Files on your computer.
Select the folder, right-click, and choose to Extract, or alternatively, send the entire folder to the person who will use it.
Then click Forward selected orders, and all the selected orders will be moved to the Finish tab.

The orders are now in the Finish tab.
Here, click End All. Once this is done, all payments disappear from the Bank Module and receive status 100 – Transferred to ERP System.

Was this article helpful?
That’s Great!
Thank you for your feedback
Sorry! We couldn't be helpful
Thank you for your feedback
Feedback sent
We appreciate your effort and will try to fix the article